Planning a flooring or tile project for a Texas home takes more than choosing a color from a sample board.
Lake houses have wet feet, sand, humidity, pets, guests, and periods of heavy use. Older homes may also have uneven subfloors, movement, or moisture below the finished surface.
That is why the design and installation decisions need to happen in the right order.
These lake home flooring tips for Texas homeowners cover the process from the first room measurements through the final walkthrough. We will look at material selection, budget planning, tile layout, grout, transitions, subfloor preparation, shower waterproofing, backsplash details, and the inspections that help prevent problems later.
If your property is near Fairfield, you can review professional Fairfield, TX flooring services and discuss the project with a local flooring contractor before ordering materials.
1. Start With How the Home Will Be Used
The best flooring choice depends on how the home operates. A quiet second home may need something different from a weekend rental filled with children, pets, and lake guests.
Before choosing a product, write down:
- Which rooms are being renovated
- Whether the home is occupied year-round
- How often wet shoes or sandy feet enter the house
- Whether pets will use the space
- If furniture will remain during installation
- Whether the project includes bathrooms, showers, or backsplashes
- How much downtime the property can handle
- Whether the flooring must continue from room to room
A lake-house entry deserves special attention. It is often the first place where water, sand, and outdoor debris reach the finished floor. Many homeowners use tile in the entry, laundry room, or bathroom and coordinate it with LVP or stone polymer composite flooring in the living areas.
This creates a practical transition without making the home feel chopped into separate sections.
For a whole-home project, decide early whether you want one flooring material throughout the dry rooms or a planned combination of flooring types. Changing materials at every doorway can increase labor and create more transition points. A consistent plan is usually easier to maintain and gives the house a better visual flow.
2. Match the Material to Each Room
LVP for flexible living areas
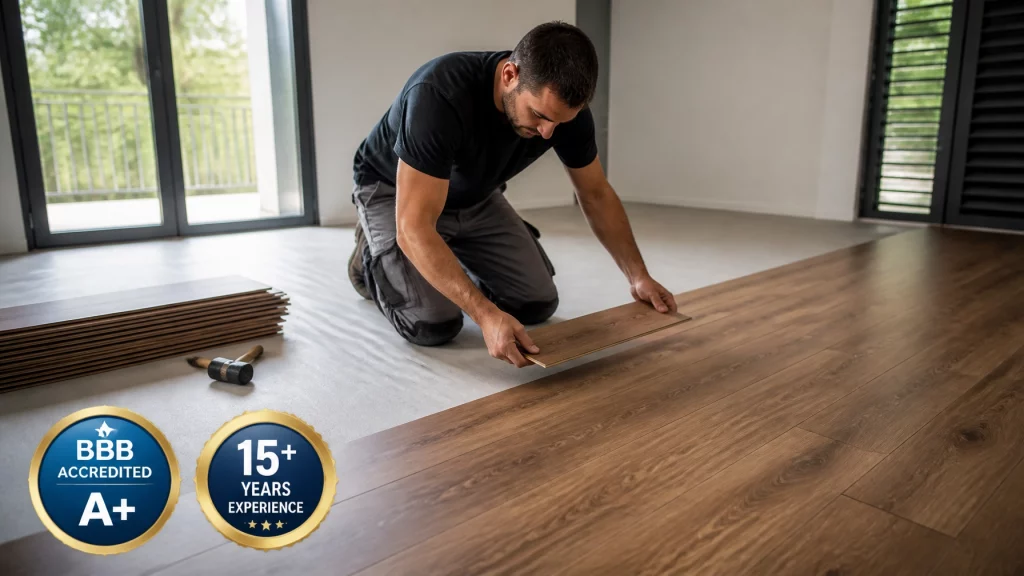
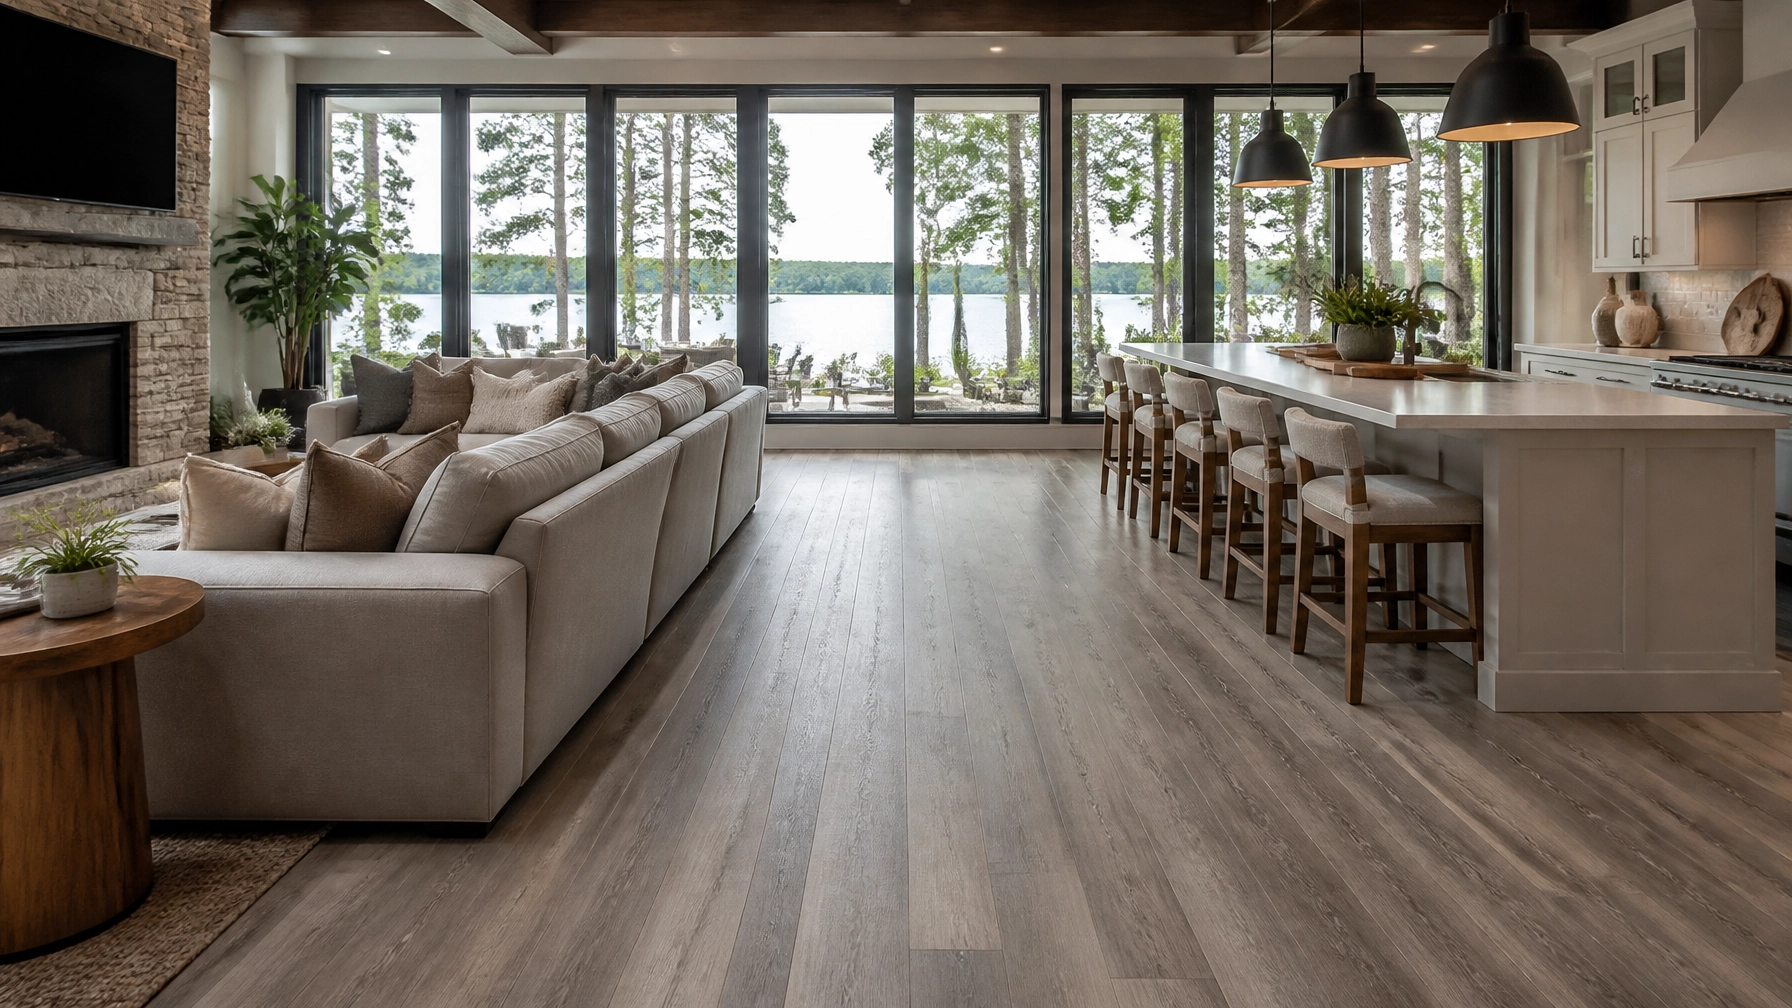
Luxury vinyl plank is a practical choice for living rooms, kitchens, bedrooms, hallways, and many lake-home interiors. It provides a wood-look appearance and is easy to clean after everyday spills, muddy shoes, and pet traffic.
For homes around Cedar Creek Lake, waterproof flooring should be evaluated as a complete installation system. Many LVP products are waterproof at the plank level, but the subfloor, perimeter, transitions, and room conditions still matter.
When comparing LVP products, look at:
- Total plank thickness
- Wear-layer rating
- Attached pad specifications
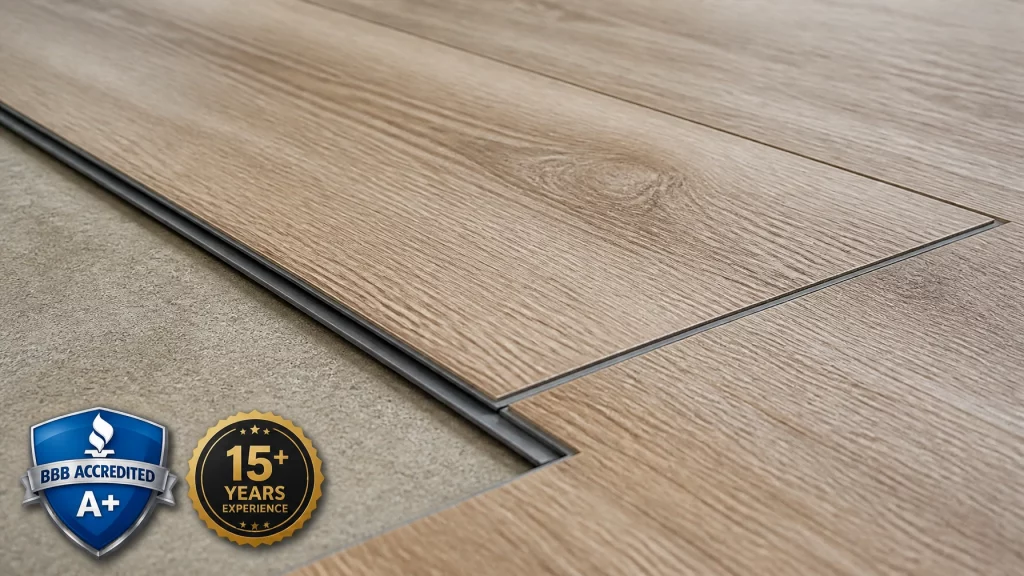
- Locking system
- Manufacturer installation requirements
- Color variation between cartons
- Warranty limitations
- Required expansion space
Stone polymer composite for rigid performance
Stone polymer composite, or SPC, has a rigid core that can provide added stability underfoot. It is a strong option for active lake homes, rental properties, and areas where durability and moisture resistance are important.
SPC flooring lake houses often benefit from the material’s firm feel and low-maintenance surface. However, rigid flooring does not hide a badly prepared subfloor. Low spots, high spots, debris, and uneven grout lines can still cause movement or visible imperfections.
That is why product selection and preparation have to be considered together.
Tile for entries and wet areas
Porcelain or ceramic tile can be a good fit for bathrooms, laundry rooms, mudrooms, entries, and other areas that receive regular moisture. Tile is also the right starting point for a custom shower or a detailed backsplash.
Matte or textured tile is often more practical than a highly polished surface in areas where wet feet are common. Grout color matters, too. Very light grout can show lake sand and staining faster. A medium neutral may provide a better balance between appearance and maintenance.
Apex Custom Floors provides professional tile flooring installation with attention to surface preparation, layout, clean cuts, grout joints, and transitions.

3. Measure the Project Before Building the Budget
Material math is one of the easiest places to make a costly mistake. A basic room measurement gives you a starting point, but it does not account for cuts, closets, angles, pattern direction, or damaged material.
For each room:
- Measure the length and width.
- Multiply length by width to calculate square footage.
- Subtract large areas that will not receive flooring.
- Add waste based on the product and layout.
- Round up to full cartons.
For simple LVP or SPC layouts, 5% to 10% extra material may be enough. A room with many corners, closets, or angled cuts may require more. Tile usually needs 10% to 15% extra, and patterned or diagonal layouts may require additional material.
Keep a record of the product name, color, lot number, and carton count. Flooring from different production runs can vary slightly. Save a few unopened cartons after installation for future repairs.
Your project budget should include more than the flooring itself. Ask about:
- Removal and disposal of existing flooring
- Subfloor repairs
- Floor leveling
- Moisture testing or mitigation
- Underlayment or approved moisture barriers
- Baseboards and trim
- Transition pieces
- Appliance moving
- Tile setting materials
- Grout and sealant
- Shower waterproofing
- Backsplash preparation
- Final cleanup
A low installation quote may not include all of these items. A detailed estimate is easier to compare because it shows what is included and what may change after the old flooring is removed.
Customers can buy flooring materials directly from Apex Custom Floors. We can help match the material to the room, expected traffic, moisture conditions, style, and budget, then provide professional installation.
4. Decide the Layout Before Installation Starts
A good layout is planned before the first plank is locked or the first tile is set. This is especially important in open living areas and rooms that connect to hallways.
For LVP and SPC, discuss:
- Which direction the planks will run
- Where the first row will begin
- How the layout will look at doorways
- Minimum stagger requirements
- Expansion space around walls and fixed objects
- Which transitions are needed
- How the flooring will meet cabinets and tile
Long plank runs often look best when they follow the main sightline or the longest dimension of the room. But the correct direction can change based on windows, hallways, stairways, and adjacent rooms.
Tile layout requires the same level of planning. The installer should check the room before setting tile to avoid narrow slivers along one wall. Tile may need to be centered on a doorway, cabinet, vanity, tub, or shower wall. The goal is not just to make the first row straight. The entire room should finish with balanced cuts.
For large-format tile, the floor or wall must be prepared carefully. Larger pieces show uneven surfaces more readily, and lippage becomes more noticeable when adjacent edges are not properly aligned.
5. Treat Grout and Transitions as Design Details
Grout is part of the finished floor, not an afterthought. Its color changes how the tile reads and how much maintenance it requires.
A close grout color can create a quieter appearance. A contrasting grout emphasizes the pattern and joint lines. For lake homes and rentals, a medium neutral often makes sense because it is more forgiving than bright white while still working with many tile colors.
Ask about the correct grout type and joint width for the tile. The tile’s size, edge, location, and expected traffic all affect the recommendation.
Transitions deserve the same attention. A flooring transition should be secure, clean, and appropriate for the height difference between materials. Poorly planned transitions can create tripping hazards or make a new floor look unfinished.
Common transition locations include:
- Doorways between tile and LVP
- Entries between tile and SPC
- Bathrooms and laundry rooms
- Flooring changes near fireplaces
- Hallways connecting different materials
- Areas where existing flooring remains
Whenever possible, plan transitions at natural breaks in the room. A doorway or room opening is usually less noticeable than a transition placed in the middle of an open floor.
Homeowners in the Gun Barrel City area can see how local project planning comes together through Gun Barrel City flooring installation services.
6. Do Not Skip Subfloor Preparation
The finished flooring can only perform as well as the surface below it. Subfloor preparation is one of the details that separates a durable installation from a floor that develops movement, cracking, or visible imperfections.
Before installation, the contractor should inspect for:
- Soft or damaged areas
- Loose plywood or underlayment
- Cracks in concrete
- High and low spots
- Old adhesive
- Deep grout lines
- Moisture concerns
- Structural movement
- Debris and dust
LVP and SPC typically require a flat, clean surface. A rigid SPC plank may bridge small imperfections, but it is not designed to correct a severely uneven floor. If old tile remains, it must be firmly bonded and sufficiently flat. Deep grout lines may need to be filled or leveled.
Tile requires careful preparation as well. The setting surface must be sound, properly cleaned, and appropriate for the installation system. If movement or cracking is ignored, the tile or grout may fail even when the tile itself is high quality.
A professional installation should include a preparation discussion before work begins. If the contractor discovers a problem after removal, the estimate may need to change. That is better than covering the problem and finding it later.

7. Plan Shower and Backsplash Details Early
A custom shower should be designed as a waterproof assembly, not simply a tiled box. Tile and grout are visible finishes, but waterproofing behind the tile protects the structure.
Important shower details include:
- Properly built shower pan
- Correct slope toward the drain
- Waterproof wall preparation
- Sealed seams and corners
- Proper treatment around plumbing penetrations
- Correct integration of niches and benches
- Drain and edge details
- Movement considerations
- Final inspection before tile covers the system
The shower layout should be planned around the tile size. A niche that does not align with the grout pattern can look awkward. The position of the valve, showerhead, bench, and shelves should be reviewed before installation.
Apex Custom Floors provides custom shower installation with waterproof shower systems, bathroom tile, niches, benches, large-format tile, and detailed layout planning.
Kitchen backsplashes also benefit from early planning. Decide where the tile begins and ends, how it meets cabinets, how outlets will be handled, and whether the layout should center on the range, sink, or main wall. For decorative or detailed work, specialty tile services can help coordinate backsplashes, accent tile, fireplace tile, and other finish details.

8. Use Inspections to Catch Problems Before Closeout
A final walkthrough should be more than a quick look around the room. Walk the floor in normal lighting and from different angles. Check the details that matter day to day.
Review:
- Straight plank or tile lines
- Consistent grout joints
- Clean cuts at walls and cabinets
- Secure transitions
- Proper baseboard and trim installation
- Expansion space where required
- No loose, hollow, or moving tile
- Doors that open properly
- Appliances and fixtures returned correctly
- Clean caulk lines
- No visible adhesive or grout haze
- Jobsite cleanup
- Remaining material and care instructions
For a shower, inspect corners, niches, benches, edges, grout, caulk, and drainage. For LVP or SPC, check the perimeter and transitions carefully. Waterproof flooring does not eliminate the need for proper installation at the edges and openings.
Apex Custom Floors focuses on clean, organized job sites and proven installation methods. Our team brings more than 15 years of combined experience and backs workmanship with a one-year workmanship warranty.
Frequently Asked Questions
What is the best flooring for a Texas lake house?
There is no single best material for every room. LVP or stone polymer composite works well in many living areas, bedrooms, kitchens, and hallways. Porcelain or ceramic tile is often a practical choice for entries, bathrooms, laundry rooms, and shower areas. The right selection depends on moisture, traffic, pets, maintenance, and the condition of the subfloor.
Is waterproof flooring a good choice near Cedar Creek Lake?
Yes. Waterproof flooring Cedar Creek Lake homeowners often consider includes LVP and SPC products for dry living areas and tile for wet zones. The product still needs proper installation, including subfloor preparation, expansion space, transitions, and perimeter details.
What is the difference between LVP and SPC flooring?
LVP is a flexible luxury vinyl plank product designed to provide a wood-look finish with easy maintenance and moisture resistance. SPC, or stone polymer composite, has a more rigid core. SPC can offer a firmer feel and added dimensional stability, but both materials depend on a properly prepared subfloor.
How much extra flooring should I order?
For a basic LVP or SPC layout, 5% to 10% extra is a common planning range. Tile often requires 10% to 15%, with more needed for diagonal, herringbone, patterned, or highly detailed layouts. Your installer can refine the quantity after measuring the actual rooms.
Can SPC flooring be installed over existing tile?
It may be possible when the existing tile is firmly bonded, clean, and flat enough for the flooring system. Deep grout lines, loose tile, cracks, or uneven areas may require correction first. The existing surface should be inspected before deciding to install over it.
What should I ask about a custom shower?
Ask how the shower pan, walls, corners, seams, niches, benches, and plumbing penetrations will be waterproofed. Also ask about slope to the drain, tile layout, grout, caulk, and the inspection process before the walls are covered.
Do you install tile flooring in East Texas lake communities?
Yes. Apex Custom Floors provides tile flooring East Texas homeowners can use for bathrooms, kitchens, entries, laundry rooms, living spaces, lake homes, rental properties, and commercial areas. We also install LVP, SPC, custom showers, backsplashes, and specialty tile.
Plan Your Flooring Project With the Installation in Mind
The strongest flooring projects begin with practical decisions. Measure the rooms carefully. Choose products based on how the home is used. Plan waste, transitions, grout, and trim before ordering. Inspect the subfloor instead of assuming it is ready. Build shower waterproofing into the design from the beginning.
That process helps control costs and reduces surprises after demolition starts.
For homeowners planning a project in Ennis, Ennis, TX flooring installation services are available for lake homes, primary residences, rental properties, and businesses. Apex Custom Floors can help you compare LVP, stone polymer composite, tile, engineered hardwood, and other approved flooring options for your space.
Request a Free Estimate
Apex Custom Floors
(903) 229-9556
https://apexcustomfloors.com/
Call Apex Custom Floors at 903-229-9556 to discuss your flooring, tile, shower, backsplash, or whole-home project. Ask about material options, professional installation, flexible financing, and a free estimate for your North Texas or East Texas property.