Upgrading your home’s flooring is one of the most impactful investments you can make, especially when you choose a material as durable and beautiful as stone polymer composite. For residents in Corsicana and surrounding North Texas communities, finding a flooring solution that can handle the humidity, occasional temperature swings, and the busy traffic of a family home is essential. Stone polymer composite (SPC) has quickly become a favorite because it combines the natural look of wood or stone with a nearly indestructible core.
At Apex Custom Floors, we have over 15 years of combined experience helping homeowners select and install the right materials for their unique spaces. As a BBB Accredited contractor, we pride ourselves on providing high-quality craftsmanship and clear, professional guidance. Whether you are looking to tackle a small room or a whole-home renovation, understanding the installation process is key to ensuring your new floors last for decades.
This guide walks you through the five essential steps for a professional-grade stone polymer composite installation. If you find the process a bit daunting, remember that our team is always here to help with a professional flooring installation in Corsicana that guarantees results.
Step 1: Subfloor Preparation and Inspection
The foundation of a great floor isn't the planks themselves, it's what lies beneath them. Before a single piece of stone polymer composite is laid down in your home in Fairfield, TX, the subfloor must be meticulously prepared. Stone polymer composite is a rigid core flooring, which means it is excellent at hiding minor subfloor imperfections, but it still requires a flat, clean surface to perform its best.
First, remove all old floor coverings, baseboards, and transitions. Once the subfloor is exposed, you need to check for three things: levelness, moisture, and cleanliness. Use a long straightedge to identify any high spots or low dips. High spots should be sanded or ground down, while low spots need to be filled with a high-quality floor patch.
Moisture is another critical factor. While stone polymer composite is 100% waterproof, trapped moisture under the planks can lead to mold or mildew issues in the subfloor itself. If you are installing over concrete, we recommend a moisture test to ensure levels are within the manufacturer's safe range. Finally, sweep and vacuum the area multiple times. Even a small pebble or wood chip left behind can cause a "crunch" sound when you walk over it later.

Step 2: Acclimation and Layout Planning
One common mistake homeowners make is rushing into the installation the moment the boxes arrive. Even though stone polymer composite is more stable than traditional wood, it still benefits from acclimation. We recommend letting the boxes sit in the room where they will be installed for at least 48 hours. This allows the material to adjust to the home's temperature and humidity levels, preventing excessive expansion or contraction after the job is done.
While the flooring acclimates, take the time to plan your layout. Measure your room accurately and calculate how many rows you will need. A professional tip is to avoid having a very thin strip of flooring at the end of the room. If your last row is going to be less than two inches wide, you should trim your first row to balance the look of the floor.
At Apex Custom Floors, we always suggest opening several boxes at once and mixing the planks. Since stone polymer composite mimics natural materials, there are variations in color and grain. Mixing the planks ensures that the "repeats" in the pattern are spread out, giving your home a more natural, custom-finished appearance. If you're planning a larger project that involves more than just floors, like a custom tile shower installation, planning the transitions between the two materials is vital at this stage.
Step 3: Setting Expansion Gaps and Starting the First Row
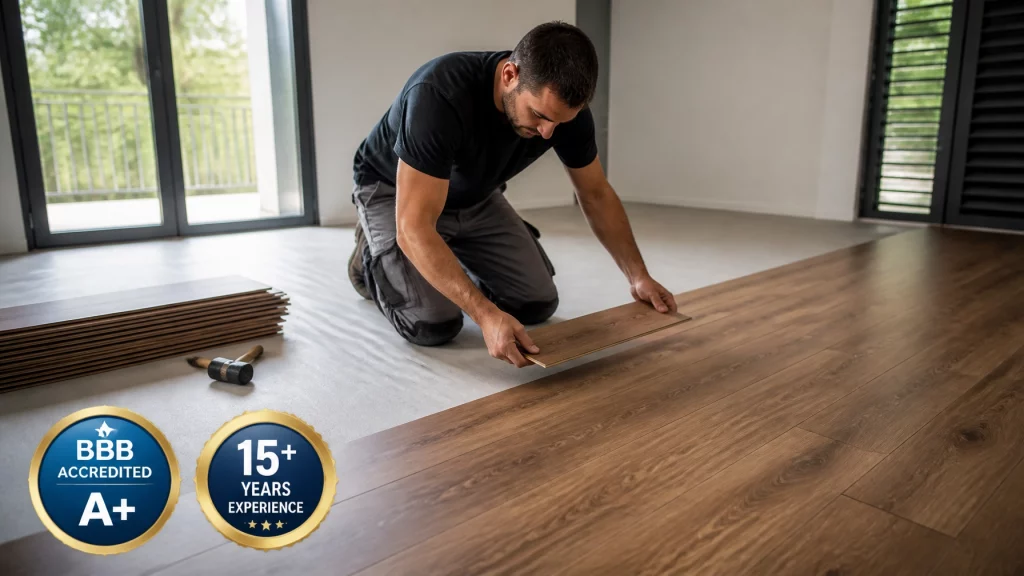
Stone polymer composite flooring is designed to be a "floating floor," meaning it is not glued or nailed down. Instead, it clicks together and sits on top of the subfloor. Because it is a floating system, it needs room to move slightly as the house settles or temperatures change. This is why expansion gaps are mandatory.
Place spacers (usually 1/4 inch to 3/8 inch) against the walls around the entire perimeter of the room. These gaps will eventually be covered by your baseboards or quarter-round molding. Start your first row in a corner, working from left to right with the tongue side facing the wall.
When you reach the end of the row, you will likely need to cut a plank to fit. Use a sharp utility knife and a straightedge to score the top of the plank, then snap it back. This "score and snap" method is one of the reasons stone polymer composite is so popular, it doesn't require a messy wet saw or a heavy-duty miter saw for most straight cuts.

Step 4: Mastering the Click-Lock System
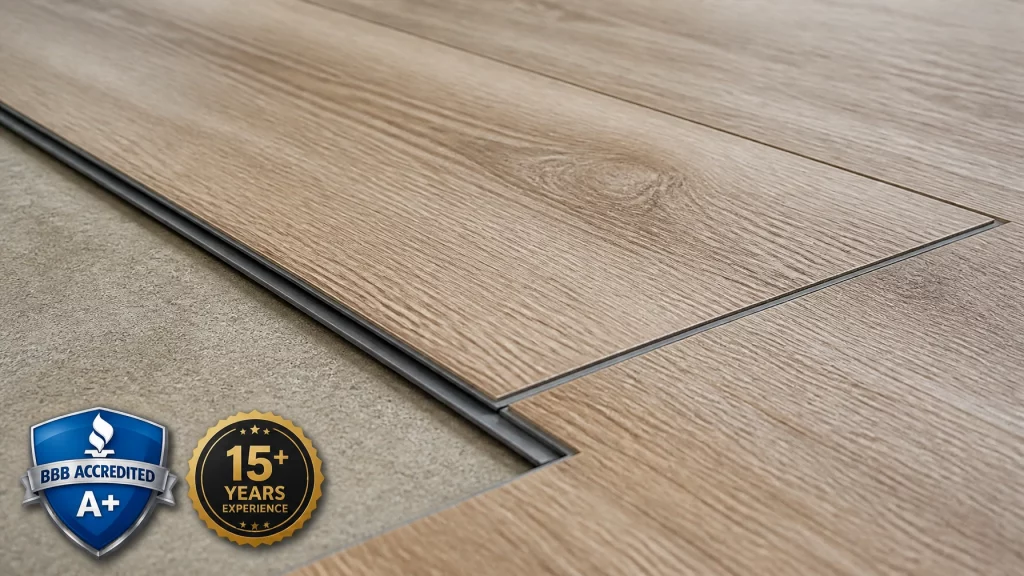
The heart of the installation is the click-lock mechanism. Most modern stone polymer composite products feature a "drop-lock" or "angle-angle" system. To connect the planks, insert the long side of the new plank into the groove of the previous row at a slight angle, then drop it down.
Once the long side is engaged, use a tapping block and a rubber mallet to gently nudge the short end into place with the neighboring plank. Be careful not to hit the locking mechanism directly, as it can be fragile. A pull bar is also an essential tool for this step, especially when you're working near walls where there isn't enough room to swing a mallet.
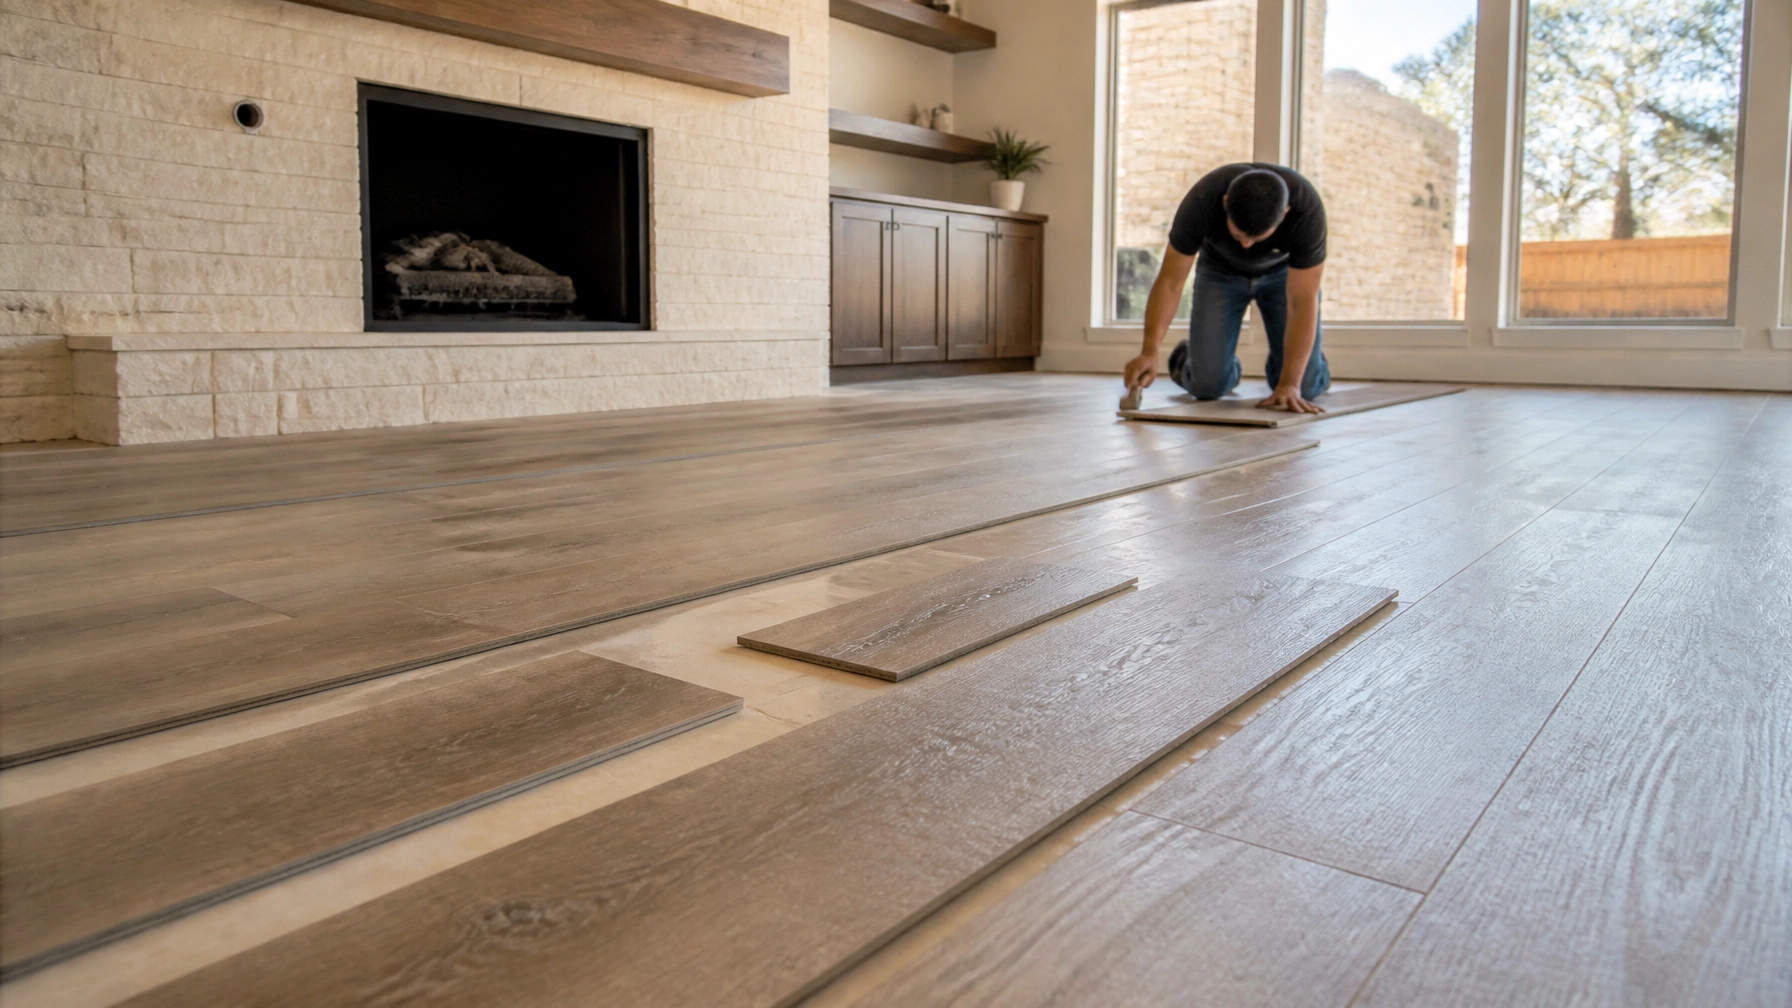
Proper staggering is what gives the floor its structural integrity. You should never have your end joints line up row after row. Instead, use the cut piece from the end of your first row to start your second row (provided it’s at least 8 inches long). This creates a "stair-step" pattern that locks the entire floor together as a single unit. For those looking for professional help with luxury vinyl plank and stone polymer composite installation, our team ensures these joints are perfectly staggered for maximum durability.

Step 5: Final Cuts and Finishing Touches
The final row is often the most challenging part of the project. You will likely need to rip the planks lengthwise to fit the remaining space. Measure the gap at several points along the wall (walls are rarely perfectly straight) and subtract your expansion gap. Mark the plank and cut it using the score-and-snap method or a jigsaw for more complex cuts around door frames.
Once the last plank is in place, remove your spacers. Now you can install your transition strips at doorways and where the stone polymer composite meets other surfaces, such as tile flooring installation areas in kitchens or bathrooms.
Finally, reinstall your baseboards or add a decorative shoe molding to hide the expansion gaps. The result is a seamless, beautiful floor that is ready to be lived on immediately. Unlike hardwood, there is no waiting for glue to dry or finish to cure. You can move your furniture back in the same day the installation is finished!

Why Stone Polymer Composite is the Best Choice for East Texas Homes
Living in the North and East Texas region means dealing with unique environmental factors. In places like Ennis and Athens, humidity can play havoc with traditional wood floors. Because stone polymer composite features a core made of limestone and stabilizers, it is virtually impervious to moisture. It won't swell, warp, or buckle when the humidity spikes during a Texas summer.
Furthermore, it is incredibly scratch-resistant. If you have pets or children, you know how quickly floors can get beat up. The wear layer on quality stone polymer composite is designed to withstand the "wear and tear" of everyday life. It's also a great companion to other high-end updates in your home. For instance, many of our clients who invest in bathroom remodeling in Athens, TX choose stone polymer composite for its warmth underfoot compared to traditional tile, while still maintaining full waterproof protection.
FAQ: Common Questions About Stone Polymer Composite
Is stone polymer composite better than Luxury Vinyl Plank (LVP)?
While both are excellent choices, stone polymer composite (SPC) is denser and more rigid than standard LVP. This makes it more resistant to denting from heavy furniture and better at hiding minor subfloor telegraphing.
Can I install stone polymer composite over existing tile?
Yes, in many cases, you can install it over ceramic tile as long as the tile is well-bonded and the grout lines aren't too deep or wide. Our experts at Apex Custom Floors can inspect your existing floor to see if it’s a good candidate for a "layover" installation.
How do I clean my new floors?
Maintenance is simple. Regular sweeping or vacuuming (without a beater bar) and occasional mopping with a pH-neutral cleaner are all you need. Avoid using steam mops, as the high heat can eventually damage the locking joints.
Do I need a separate underlayment?
Many stone polymer composite products come with an attached padding or underlayment. If yours doesn't, or if you are looking for extra sound dampening, a separate underlayment may be required.
Conclusion
Installing stone polymer composite is a rewarding way to transform your home’s aesthetic while adding significant value and durability. From the initial subfloor prep to the final transition strip in your Ennis, TX flooring project, following these five steps will help you achieve a professional look.
At Apex Custom Floors, we understand that not every homeowner has the time or the tools to handle a full flooring installation. With over 15 years of experience and a commitment to clean, organized jobsites, we are ready to take the stress out of your next remodel. Whether you are in Corsicana, Fairfield, or around the lake, we provide the expertise you need for a floor that lasts.
Apex Custom Floors also sells flooring materials directly! Call Apex Custom Floors at 903-229-9556 for a free estimate or to browse our selection.
Apex Custom Floors
(903) 229-9556
https://apexcustomfloors.com/