There is nothing quite like the feeling of stepping into a brand-new, custom-built shower. For many homeowners looking at flooring and remodeling in Ennis, TX, a walk-in tile shower is the ultimate goal. It adds significant resale value and a daily sense of luxury. However, beneath those beautiful porcelain tiles and sleek glass doors, a shower is one of the most complex engineering projects in your home.
When a custom shower is done right, it lasts for decades. When it’s done wrong, it can lead to mold, structural rot, and thousands of dollars in water damage repairs within just a year or two. At Apex Custom Floors, we’ve seen it all during our 15+ years of experience. We take pride in being a BBB Accredited contractor that guides North Texas homeowners through the process without the headaches.
If you are planning a bathroom renovation, pay close attention. Here are the seven most common mistakes homeowners and inexperienced contractors make with custom tile showers and exactly how to avoid them.
1. The "Greenboard" Myth: Inadequate Waterproofing
One of the most dangerous mistakes is assuming that "water-resistant" drywall (often called greenboard) is sufficient for a shower. While it might handle the humidity of a bathroom, it cannot withstand the direct spray and constant saturation of a shower stall. Over time, water seeps through grout and thinset, turning that drywall into a soggy mess that feeds black mold.
How to Fix It:
You must use a dedicated waterproofing system. At Apex Custom Floors, we prioritize advanced moisture management. This usually involves using a cement backer board or a specialized foam board system, followed by a topical waterproofing membrane. Think of it like a pool liner for your shower. Whether we are working on a project at Richland Chambers Lake or a residential home in Ennis, we ensure the "envelope" is sealed before a single tile is laid.
2. Incorrect Drainage Slope (The "Puddle" Problem)
Water should never sit still in a shower. A common error is failing to create a consistent, gradual slope toward the drain. If the "pre-pan" or the tile surface has dips or is too flat, you’ll end up with standing water. This leads to slippery surfaces, slimy grout, and eventual leaks.
How to Fix It:
The industry standard is a ¼-inch drop for every foot of distance from the wall to the drain. This requires precision during the "mud set" or when installing a pre-sloped pan. If you're tackling a custom shower project, always perform a "flood test" before tiling. We plug the drain and fill the pan with water for 24 hours to ensure there are no leaks and the slope is functioning correctly.
3. Choosing the Wrong Tile Size and Material
A tile that looks great in a showroom might be a nightmare inside a shower. For example, using large-format tiles (anything bigger than 4×4 inches) on a sloped shower floor is incredibly difficult. Large tiles cannot follow the curve of the slope toward a center drain without being "envelope cut," which looks messy. Additionally, polished tiles are a major slip hazard when wet.
How to Fix It:
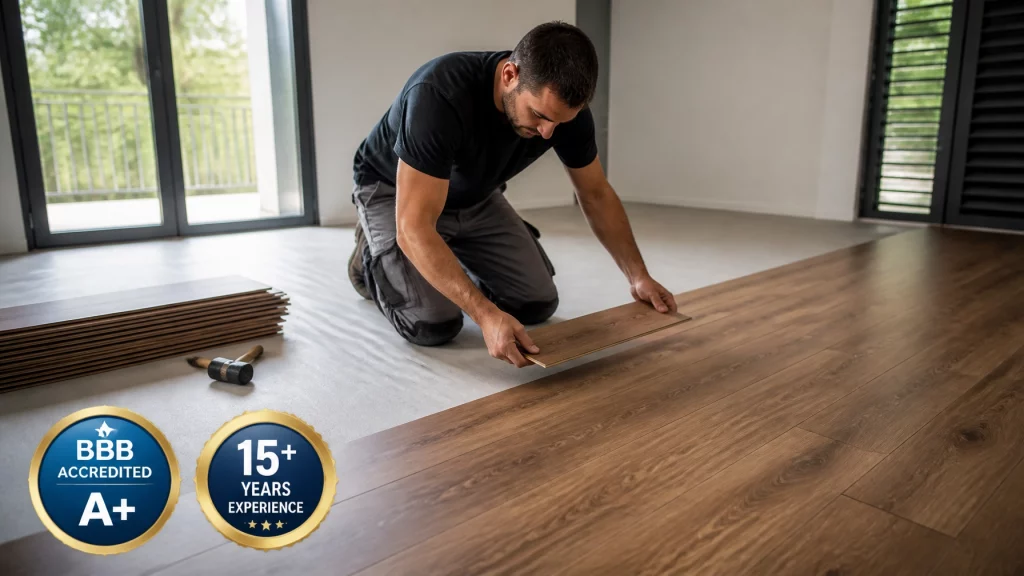
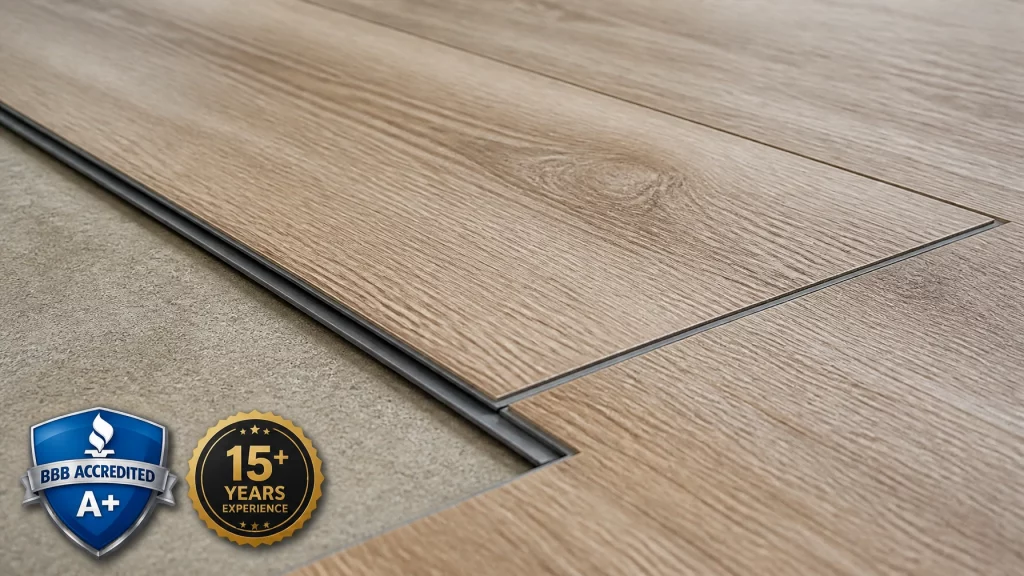
For shower floors, we recommend mosaic tiles or smaller 2×2 or 3×3 tiles. The extra grout lines provide the necessary traction to prevent falls. If you love the look of large tiles, consider a linear drain, which allows the floor to slope in a single direction. While you're at it, don't forget the rest of the house. Many of our clients in Ennis choose to match their bathroom aesthetic with luxury vinyl plank or stone polymer composite flooring in the adjoining bedroom for a seamless, waterproof transition.
4. Poor Substrate Prep and Visible Lippage
"Lippage" is when the edge of one tile sits higher than the tile next to it. In a shower, this isn't just an eyesore; it’s a trip hazard and a place where water collects. This usually happens because the walls weren't checked for "plumb" (straightness) before the tile was installed. If your studs are bowed, your tile will be too.
How to Fix It:
A professional contractor doesn't just start tiling. We shim the studs or use a leveling compound to make sure the surface is perfectly flat. This is the same level of care we take when preparing a subfloor for engineered hardwood flooring. If the foundation isn't flat, the finish will never be perfect. Using a tile leveling system during installation can also help pull the tiles into a single, flat plane.
5. Layout Nightmares: Slivers and Misplaced Niches
Few things ruin a high-end shower like "slivers", tiny, 1-inch strips of tile at the corners or edges. This happens when the installer starts in one corner and works their way across without planning where the tiles will end. Similarly, a shower niche (the little shelf for your shampoo) should be centered and framed within the tile pattern, not cut haphazardly into the middle of a tile.
How to Fix It:
The "measure twice, cut once" rule is vital here. We always find the center point of the wall and layout the tiles dry to see where the cuts fall. If the layout leaves tiny pieces at the ends, we shift the starting point. For homeowners in Athens, TX looking for flooring, this attention to detail is what separates a DIY look from a professional result.
6. Grout Confusion: Using Grout Where Caulk Belongs
Grout is rigid. Houses move. When you have two different planes meeting, like where two walls meet in a corner, or where the wall meets the floor, grout will eventually crack. Many homeowners make the mistake of grouting these "changes of plane," leading to unsightly cracks that allow water to bypass the tile.
How to Fix It:
Anywhere there is a corner or a change in material, you must use 100% silicone caulk (color-matched to your grout). Silicone is flexible and will expand and contract with your home's natural movement. This keeps the seal watertight and looking clean for years. If you're doing a specialty tile service, like a custom fireplace or an outdoor kitchen, this rule still applies.
7. Treating the Shower Like a Kitchen Backsplash
A kitchen backsplash is decorative; a shower is a functional wet-room environment. We often see people try to use the same thinset and grout techniques for both. In a kitchen, you might get away with using an adhesive mastic, but in a shower, mastic will eventually re-emulsify and turn back into "glue" when wet, causing tiles to fall off the wall.
How to Fix It:
Always use a polymer-modified thinset rated for submerged or wet environments. Also, consider the grout. While traditional cement grout is common, epoxy or high-performance urethane grouts are superior for showers because they are naturally stain-resistant and don't require sealing. If you are upgrading your kitchen and want a professional tile flooring installation or a new backsplash, ensure you are using the right materials for each specific area.
Beyond Showers: Kitchen Backsplashes and Hardwood
While a custom shower is a centerpiece of bathroom remodeling, it's often part of a larger home update. In Ennis and surrounding areas, we see a huge trend toward "whole home" refreshes. This usually involves carrying the high-end feel of the bathroom into the kitchen with a custom tile backsplash that complements your countertops.
Furthermore, many North Texas homeowners are moving away from carpet and opting for more durable surfaces. For high-traffic living areas, nothing beats the warmth of real wood. If your current floors have seen better days, we also specialize in hardwood refinishing and emergency flooring repairs. Whether it's restoring the luster to old oak or installing modern stone polymer composite (SPC) throughout your downstairs, our goal is to provide a finish that stands the test of time.
Frequently Asked Questions
How long does it take to install a custom tile shower?
Generally, a professional installation takes 5 to 7 days. This allows for proper drying times between the substrate prep, waterproofing, tiling, and grouting. Rushing any of these steps is a recipe for failure.
Do I really need to seal my grout?
If you use standard cement grout, yes. It should be sealed once or twice a year to prevent staining and mold growth. However, if we install your shower using epoxy or high-performance grout, you can skip the sealing entirely!
Can I install tile over my existing tile?
Technically, it is possible, but we don't recommend it for showers. You cannot verify the integrity of the waterproofing behind the old tile. It's always better to tear it down to the studs and start fresh to ensure a 100% waterproof result.
What is stone polymer composite (SPC) flooring?
It’s a type of luxury vinyl flooring with a core made of limestone and stabilizers. It is incredibly dense, 100% waterproof, and perfect for areas like bathrooms or kitchens where spills are common.
Do you offer financing for large projects?
Yes! We understand that a full bathroom or kitchen remodel is a big investment. Apex Custom Floors offers flexible financing options so you can get the professional results you want today.
Conclusion
A custom tile shower is one of the best investments you can make in your home, but it requires a "systems-based" approach. By avoiding these seven common mistakes: especially focusing on proper waterproofing and substrate preparation: you can ensure your new bathroom remains a source of pride rather than a source of stress.
Whether you are in Ennis, looking for a flooring contractor in Hillsboro, TX, or updating a lake house on Cedar Creek, Apex Custom Floors is here to help. With over 15 years of experience and a commitment to clean, organized job sites, we make the remodeling process smooth and predictable.
Looking for materials? Apex Custom Floors sells flooring materials directly to you! Call Apex Custom Floors at 903-229-9556.
Apex Custom Floors
(903) 229-9556
https://apexcustomfloors.com/